A shower with a poorly executed slope doesn’t fail on the day of handover. It fails after the client has already paid.
The water doesn’t drain away completely. It lingers for a few extra seconds in one corner. It darkens a grout joint, leaves a faint ring along the wall, and within a few months, the phone call comes in.
In a floor-level shower installation, the slope is not merely an aesthetic detail. It is the foundation of the entire system’s hydraulic performance.
A site-built shower with a 2% slope means the surface drops 2 cm for every linear meter toward the drain. This proportion allows water to flow efficiently without creating discomfort underfoot.
If the slope is too shallow, water spreads out and lingers. If it’s too steep, the surface becomes uncomfortable and tile installation becomes difficult.
When water drains effectively, the surface dries faster and the grout joints suffer less wear. When it doesn’t, problems emerge with daily use.
On many job sites, the slope is formed manually using mortar or screed. It’s laid out by eye, levelled with a straightedge and spirit level, and left to the installer’s experience.
In new construction, this can work if the substrate is perfectly level. However, in renovations – where substrates are rarely even – the margin for error increases significantly.
Let’s look at a real-world example.
Bathroom renovation in an older home. An open shower with a linear drain is planned. The screed is laid with a theoretical 2% slope and, at first glance, everything appears correct.
The issue arises when installing large-format tiles. Small, almost imperceptible undulations appear. The plane is no longer perfectly continuous. There’s no obvious flaw, but the slope stops being consistent.
The result isn’t a large puddle, but small areas where water takes longer to drain. This retention is enough to darken grout joints and retain moisture at the joints.
When the slope is created solely with mortar, the outcome depends on the regularity of the substrate and the precision of execution. If the screed is uneven, the slope will be uneven too.
In contrast, when a shower profile with built-in slope is used, the 2% inclination is geometrically defined within the profile itself. It’s not an approximation. It’s an exact reference. With a manual slope, each shower can have slight variations. They are almost imperceptible millimetres, but enough to alter the evacuation. With a shower profile featuring an integrated slope, the geometry remains constant and repeatable.
The same applies to the transition with the exterior flooring. When done by hand, it requires fine on-site adjustments. With an integrated slope profile, the line is clearly defined from the start.
In multi-unit developments, this translates into consistency across homes. In individual renovations, it significantly reduces the risk of complaints.
In a floor-level shower, water control doesn’t depend solely on the central inclined plane. The perimeter junctions are equally critical.
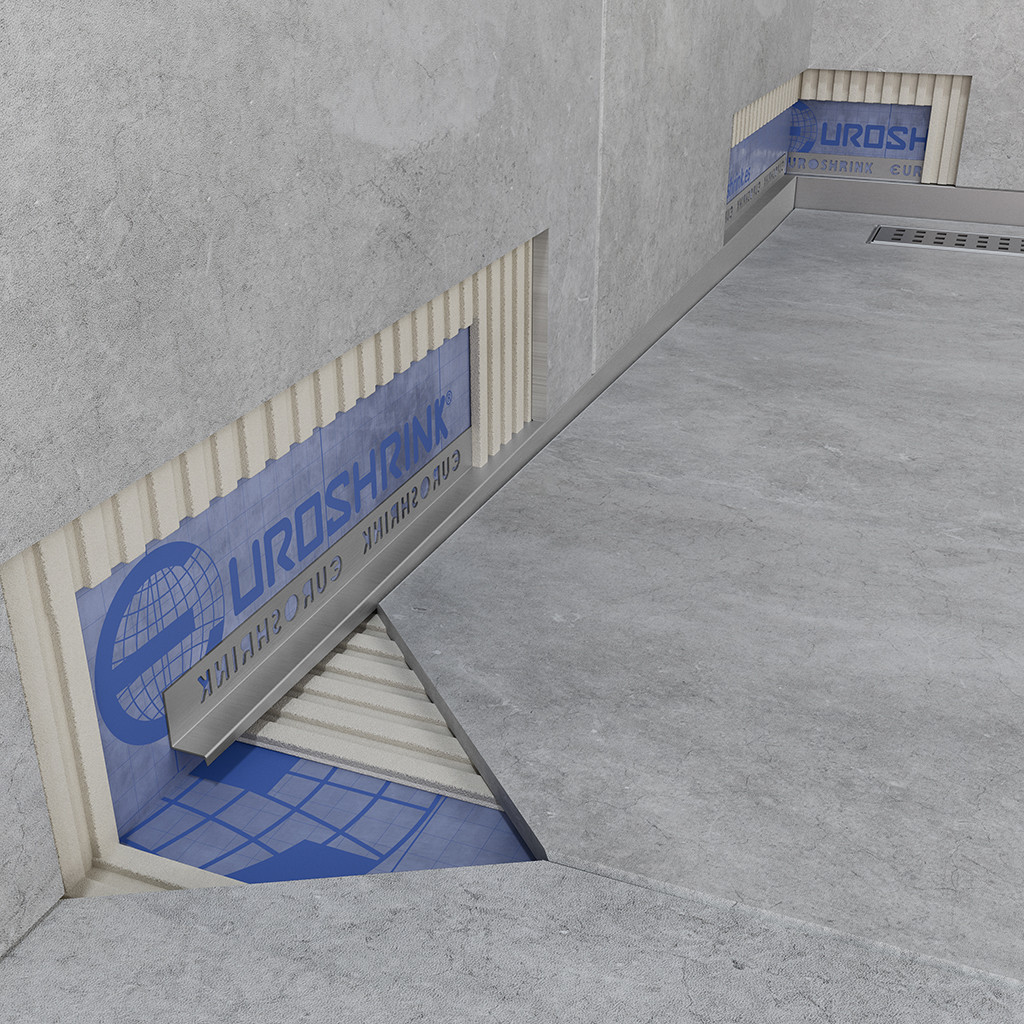
For the transition edge between the wet area and the exterior flooring, profiles such as models 334S and 338S incorporate a built-in 2% slope. They don’t serve a decorative function, but a structural one: they precisely define the line where the inclined plane ends and the level surface begins.
The 334S model is designed for floor-level transitions, while the 338S resolves the front of the shower when a clear boundary is needed without visible physical barriers. In both cases, the slope is geometrically defined in the profile itself, reducing dependence on the screed and eliminating minor variations that can affect drainage.
This junction is one of the most sensitive points in the system. If not properly resolved, slight level differences appear that affect both water behaviour and the final perceived finish.
In new construction, where the solution is repeated across multiple units, this reference ensures geometric consistency between homes. In renovations, where the substrate may have height variations, it allows precise control of the transition without improvised adhesive adjustments.
Perimeter control doesn’t end at the floor. The vertical junction must also be resolved with precision.
The 336S model, designed for walls, also features an integrated 2% slope and clearly defines the base of the cladding. In many showers, the most vulnerable point is precisely the junction between the floor and the wall tiling. If water is retained in this area, the bottom grout joint degrades faster and stays damp longer.
With a manual solution, this junction depends entirely on sealing and substrate regularity. With a shower profile featuring an integrated slope, the transition is clearly defined and water is directed toward the main drainage plane without interruption.
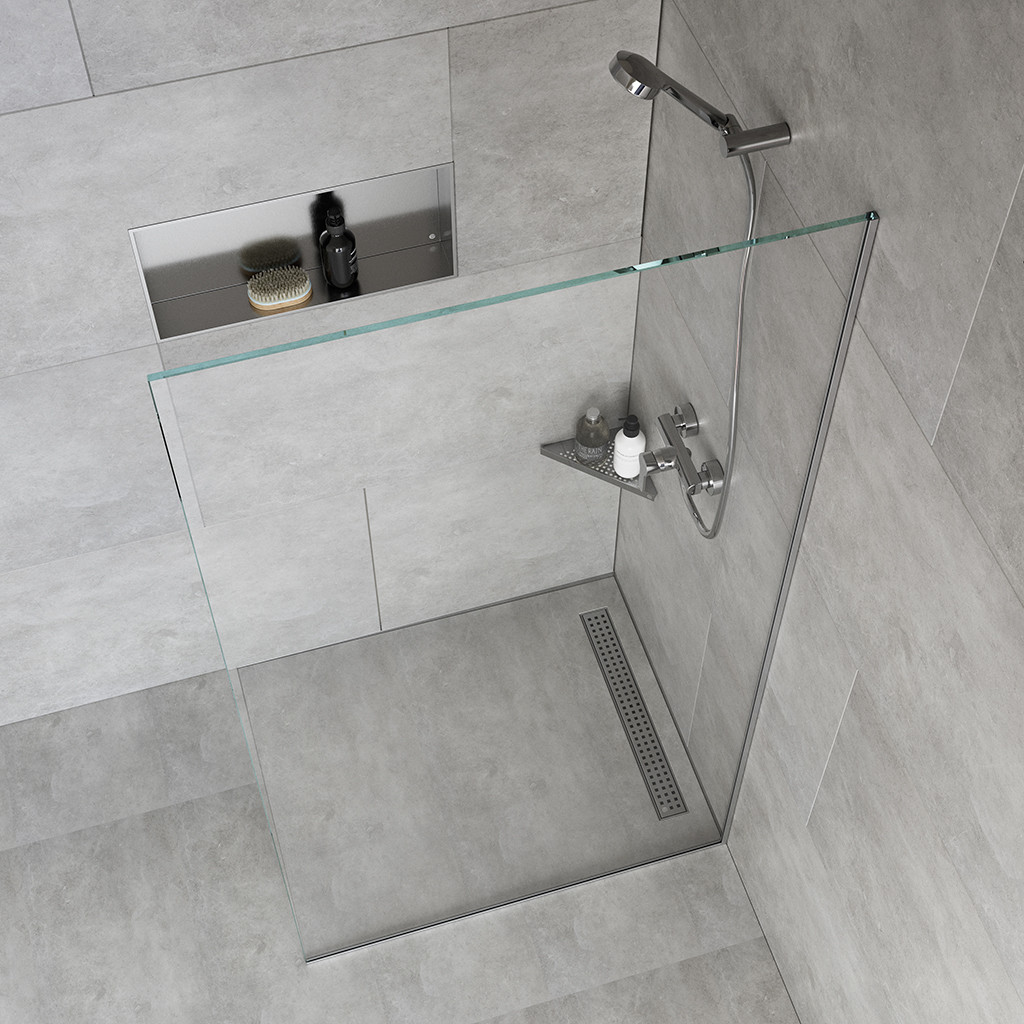
When the shower includes a fixed glass panel, the system is completed with compensation profiles such as models 330S and 332S. These absorb minor height variations and ensure stable glass fixing. This way, the floor, wall, and enclosure work as a coherent system without interfering with the slope or drainage.
Additionally, the bottom line of both the cladding and the glass is perfectly defined – an especially important detail when working with rectified tiles or large-format ceramic, where any irregularity becomes visible.
With tiles measuring 60 × 120 cm or larger, any irregularity in the slope is magnified.
If the plane is not uniform, stresses appear beneath the tile and small voids form at the base. This affects both stability and water drainage.
In a large-format shower, the slope must be consistent across the entire surface.
A geometrically defined reference, such as that provided by a shower profile with an integrated 2% slope, makes installation easier and reduces the need for later adjustments.
In a floor-level shower, the material doesn’t just affect the finish. It directly impacts the system’s long-term durability and reliability. A stainless steel shower profile operates under constant humidity conditions. It is continuously exposed to water, steam, temperature changes, and cleaning products. It is not a passive component; it plays an active role in the structural system.
AISI-304 stainless steel offers adequate corrosion resistance in humid indoor environments and maintains its dimensional stability over time. It does not deform, does not lose rigidity, and preserves its geometry even after years of use.
When a shower profile defines the slope, its stability becomes part of the overall hydraulic performance. If the profile maintains its shape, the transition between planes remains precise and water evacuation performs as designed.
If the material deteriorates or loses rigidity, the geometry changes. And when geometry changes, drainage is no longer exact.
Correcting a finished shower is never a minor intervention. The process involves removing ceramic tiles, demolishing the screed, and redoing the waterproofing. In developments, it causes delays. In private projects, it creates distrust.
Conversely, when the integrated slope is defined from the outset using a shower profile, layout becomes clearer and execution more controlled. Later adjustments are reduced, surprises are minimized, and the result is more uniform across different units.
Predictability on site is not a luxury. It is a competitive advantage.
Water will always find the lowest point. The difference lies in whether that point was precisely defined in the project or left to on-site judgment.
In a floor-level shower, a 2% slope is not optional. It is what guarantees proper water evacuation and long-term system stability.
Relying solely on mortar leaves room for variation. Incorporating shower profiles with integrated slope, such as models 334S and 336S, introduces control at the junctions and transitions where problems most frequently appear.
At Euroshrink, we develop technical profiles designed to solve these critical points from the design stage. If you’re working on a shower where the wall-to-floor junction, transition, or large-format tiles demand maximum precision, contact us to find the most suitable solution for your project. Defining it correctly at the design phase is always far more effective than intervening once drainage issues have already become visible.


