A well thought-out niche brings order where before there was only a wall. It maximizes space, reduces visual bulk and when correctly installed flush, integrates seamlessly with the house This guide takes you from planning to the final touch-up, with on-site tricks, model-specific details and tips to keep water and lost time at bay.
Before marking the wall, decide what use you want to give it. Do you want open storage or storage behind a door? Will it be in a wet area or on a dry wall? Do you picture it fully flush, slightly protruding or hanging like a painting?
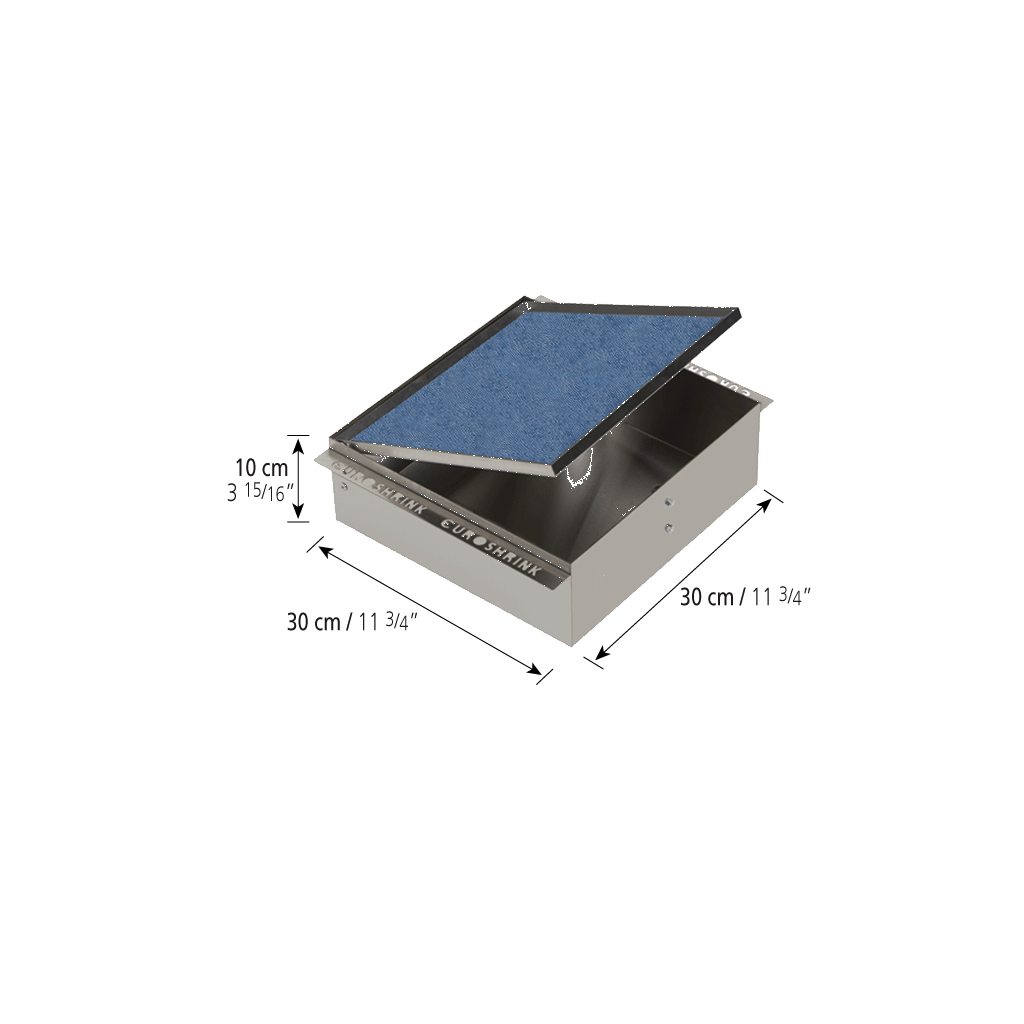
With these ideas in mind, choose the niche that best suits you: The Euroniche HNF is versatile in assembly; others like the Euroniche HC/CERAMIC feature a door that is fitted at the end for a flush finish; and variants such as the Euroniche HC/PR, the Euroniche H/PRE, the Euroniche H/VL or the Euroniche HCD provide seamless integration with ceramics and other highly specific applications.
For the installation of a niche, you don’t need any exotic tools:
The appropriate model of niche.
Level, pencil or marker, measuring tape.
Drill with bits, plugs and screws according to the type of wall.
Angle grinder for masonry or handsaw for drywall (to open the cutouts).
Adhesive for ceramics and double bonding.
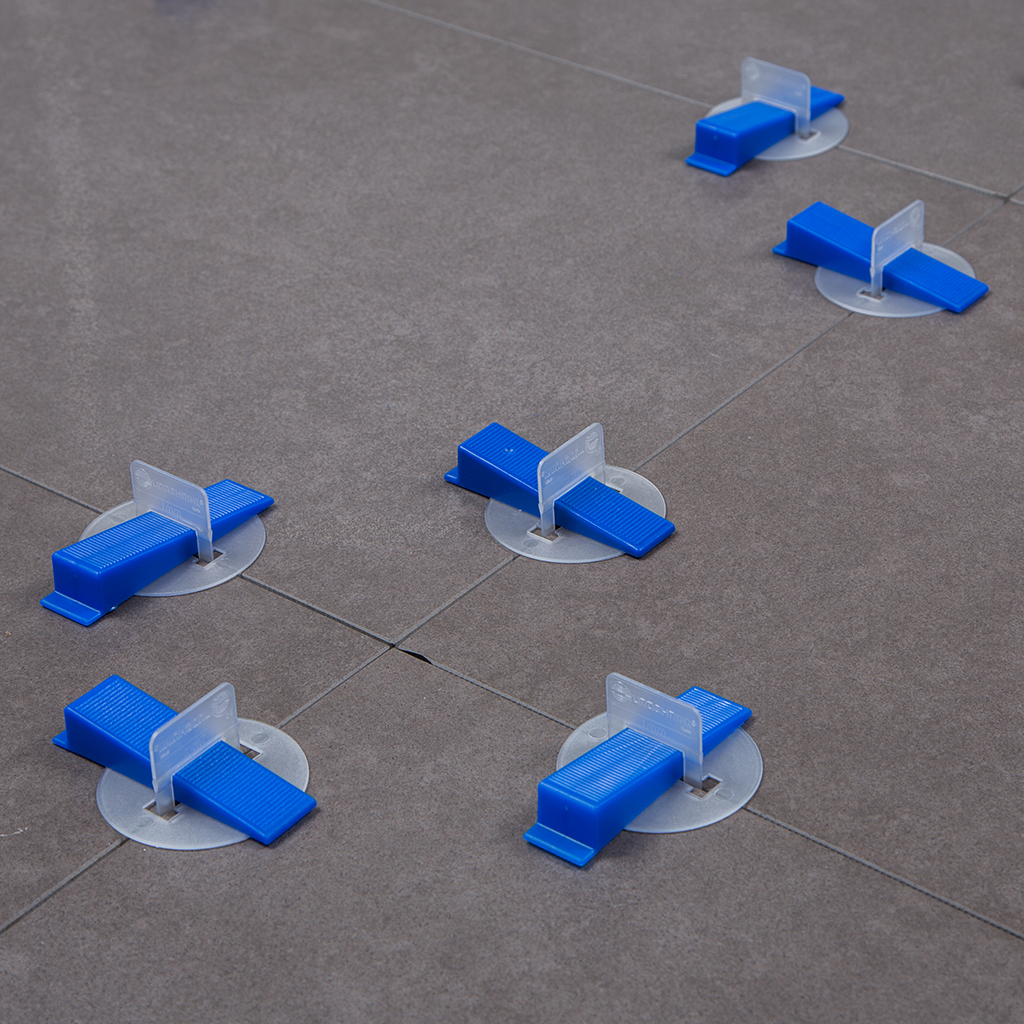
Wedge levelling system or spacers.
Sealant and waterproofing in wet areas, such as the Waterproof.5 membrane.
Soft cloth and water for immediate cleaning of residues.
PPE: gloves and goggles.
Present the niche on the wall and mark its outline in pencil in the desired position. Before cutting, use a spirit level to check horizontality and plumb. Also try to align it with the tile module indicated by the pieces and their joints: this way, the edge will be flush and the joints will line up naturally, without awkward cuts or narrow pieces.
Make a final check of installations such as pipes, drains, cables or junction boxes; consult the plans or use a detector, and confirm the usable depth of the wall—that is, the free space inside the wall where the niche will be recessed. It must be deep enough to accommodate the back of the niche plus the adhesive layer and the cladding. That minute of checking saves hours of corrections later.
In masonry or drywall, cut the opening to the exact size with clean edges: the more precise the cut, the fewer adjustments will be needed later. Position the niche and hold it steady; if possible, temporarily screw it in place to prevent movement while installing the cladding.
Around it, apply adhesive and use the double-bonding method, spreading adhesive on both the wall and the back of the tile. This improves grip and avoids gaps. Use a levelling system to ensure flatness between the edge of the niche and the tile so that they are on the same plane. Wipe away any adhesive or mortar from the stainless steel straight away; this is what separates a durable shine from a permanent stain. Let it dry as per the adhesive instructions, remove any wedges or spacers, and finish with a continuous perimeter seal—an elastic joint running around the entire edge without breaks to prevent leaks.
When the wall can’t be recessed or you’re looking for a more decorative touch, this is the quick and tidy option. Position the template, mark the four points and ensure it is level. Drill, insert the plugs according to the type of wall and screw in, leaving just enough depth for a secure hold. Hang the niche like a frame and recheck the level. Where possible, use the micro-adjustment feature to line up perfectly with the tiles.
If there is a door, order and patience are key. Fit the door when the tiling is finished and clean. Position it in its fittings and check the level and plumb of the assembly. If the frame is slightly out of alignment, now is the time to correct it using the micro-adjustments on the fittings. This ensures a flush fit and that the door opens and closes without rubbing. With doors that incorporate ceramic, adhere to the recommended thickness and weight, and make any necessary adjustments once the adhesive has cured to ensure perfect alignment. Before the final sealing, open and close the door several times as a test, and adjust the fittings if necessary.
For niche variants with a ceramic cover and other specific features, it’s best to initially secure the box with screws to prevent it from shifting while fitting the front panel. Maintain neat cuts, precise levelling and promptly clean off any residue to create a front that blends seamlessly with the wall.
To subdivide the opening, install the Euroshelf HB-EST after fixing the niche. Ensure a clean, level surface and fix with adhesive or anchors. In wet areas, apply a Waterproof.5 membrane beforehand before covering. The cladding is applied directly over the shelf and niche, respecting the joints so that everything reads as a single, unified piece

For safety, always wear eye protection and gloves, from the initial layout to the finishing touches. During installation and drying, clean any cement or mortar residue on the surface of the profile immediately with clean water and a soft cloth. For daily maintenance, avoid abrasives or scouring pads that may scratch the finish; a neutral detergent and soft sponge is sufficient.
Frequent issues include marking layouts by eye, which throws everything out of alignment, niches moving during tiling, doors installed too early, and incomplete sealing that causes damp spots.
The way to prevent these issues is straightforward: measure and mark precisely, keep the box firmly in place while working around it, fit the door last and apply a continuous seal. Before considering it finished, make sure the installation is level, the front is flush, the perimeter is sealed and the door opens and closes smoothly.
A raised or uneven tile edge is usually caused by incorrect levelling. If the adhesive is still unset, use the levelling system to make adjustments; once it has hardened, a very fine wet sandpaper can sometimes smooth the tile edge—if not, the tile will need to be replaced. If any damp patches appear, let the area dry completely and redo the seal in one continuous line. If the door is rubbing, ensure the frame is plumb and tweak the fittings until proper clearance is achieved. If you ever feel unsure, contact a professional—this is a clear recommendation from the manufacturer.
If there’s just one takeaway, make it this. A niche is successful when you do three things with precision: plan the layout carefully, hold it steady while tiling and seal it as though water were hunting for every crack. By following these steps and promptly wiping away any residue, you’ll create a niche that is functional now and stays pristine for years to come.
And if you have any questions, please contact us: we will help you to choose the model, confirm measurements and solve any detail so that the installation is done right the first time.


